
01 / 13
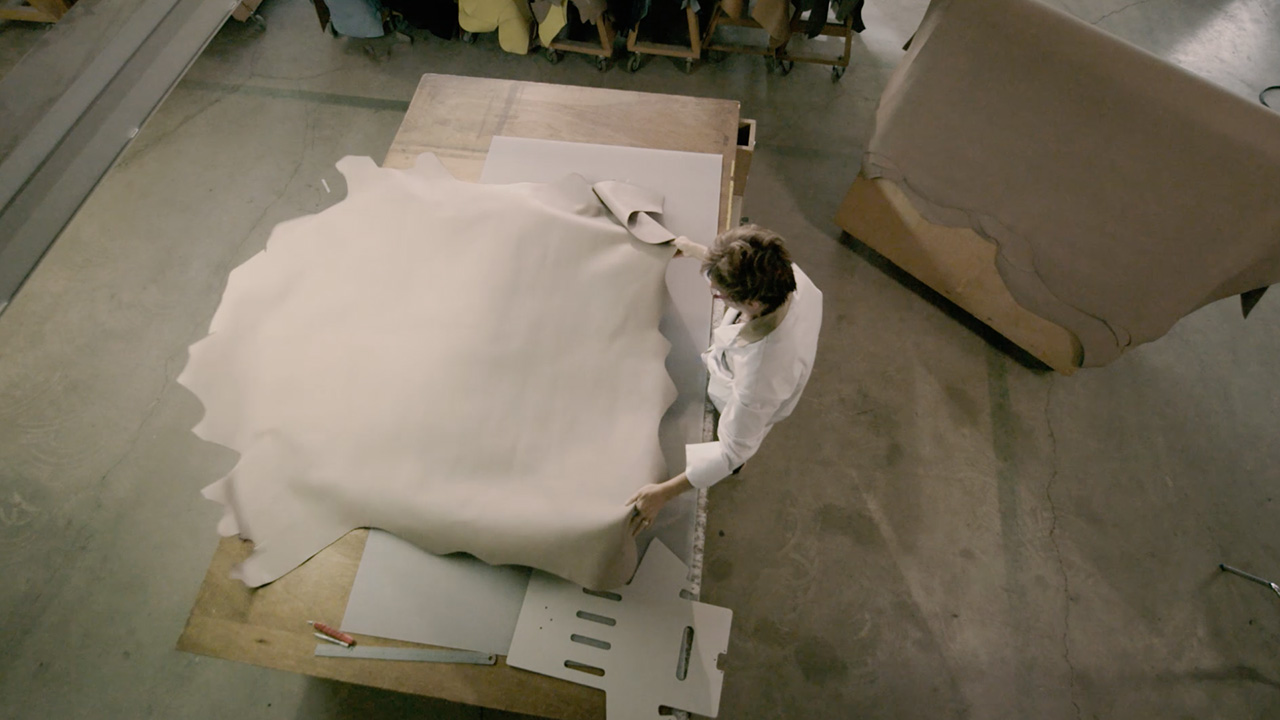
Quality Check of the Materials
Inspect the quality and technical features of the leather and the different components according to the required specifications.
02 / 13
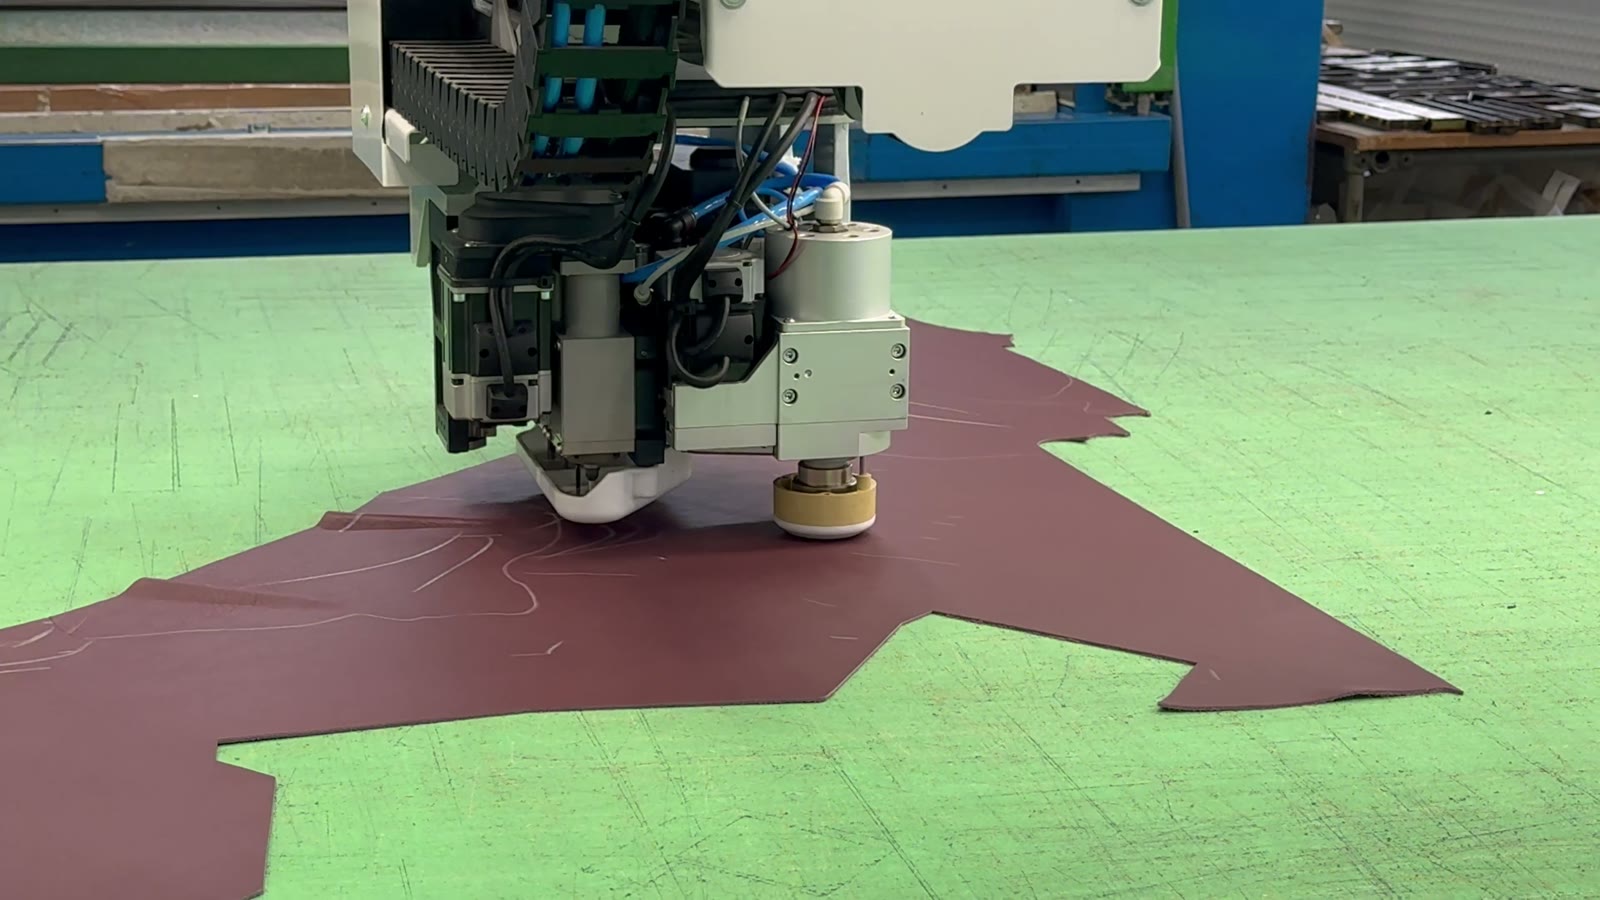
Cut
Cut the pieces of leather manually with tools or with an automatic cutting table in order to ensure that the parts are always identical.
03 / 13
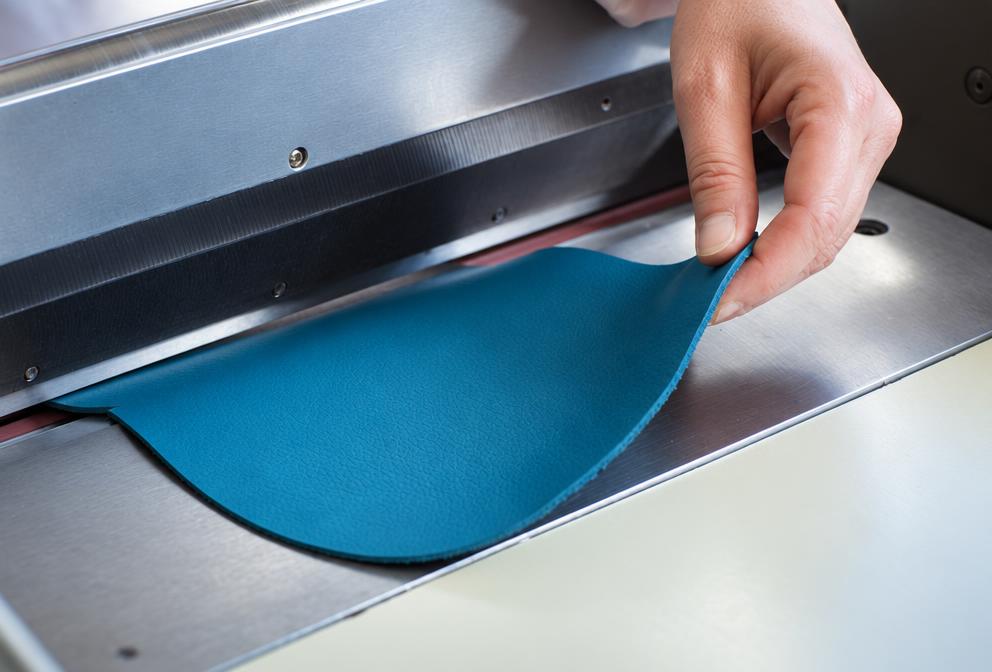
Preparation
Add various reinforcements; make sure the leather has the right thickness to take the desired form and touch.
04 / 13
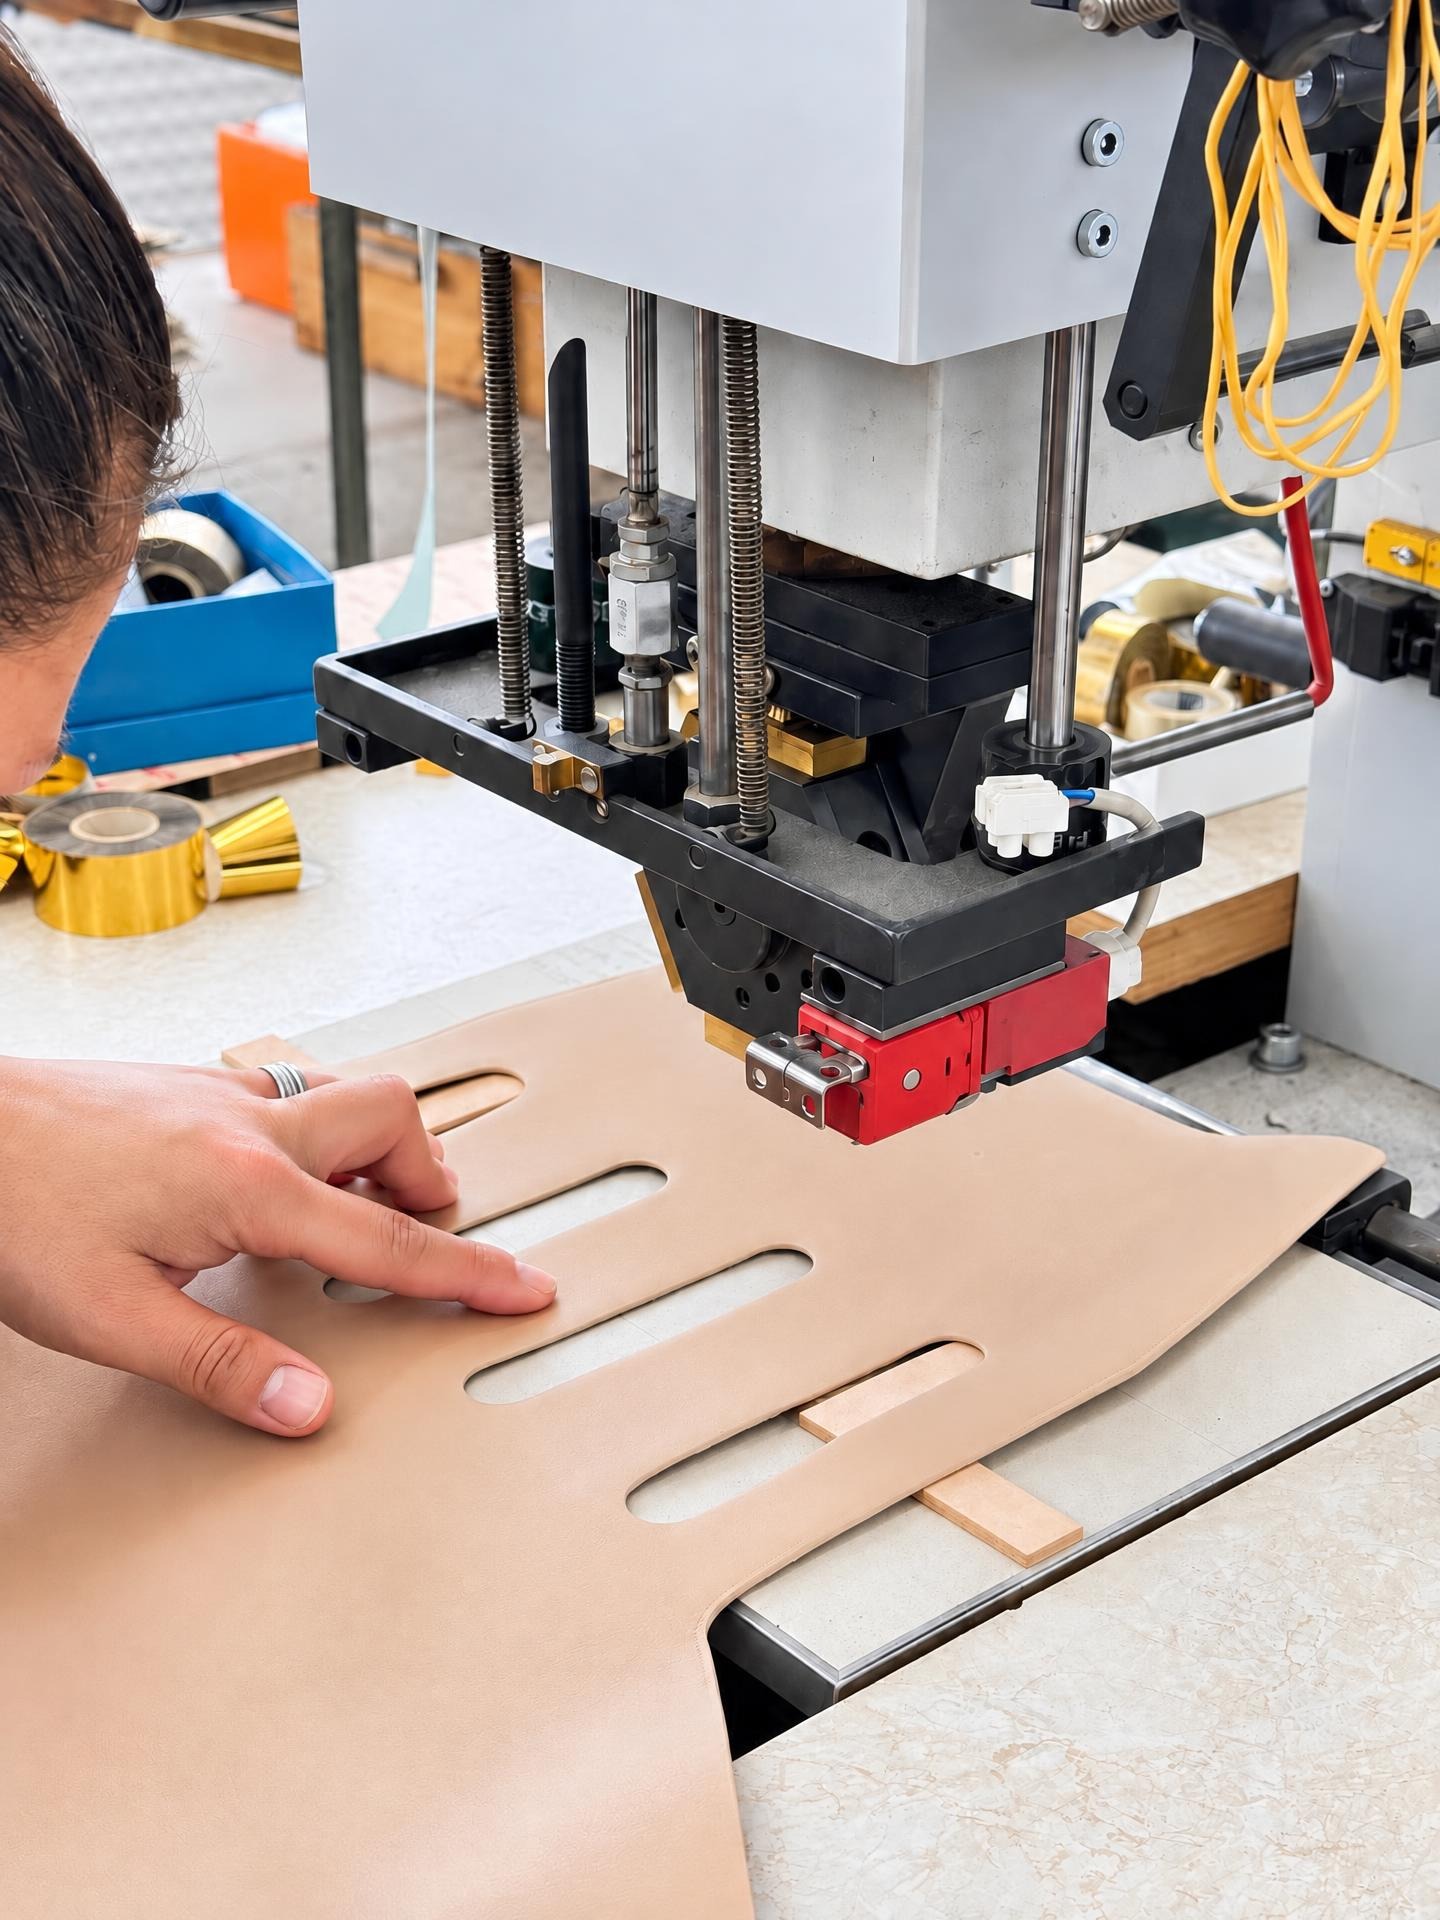
Marking
Add the brand with heat or with color by using a unique branding iron to guarantee the origin of the article.
05 / 13
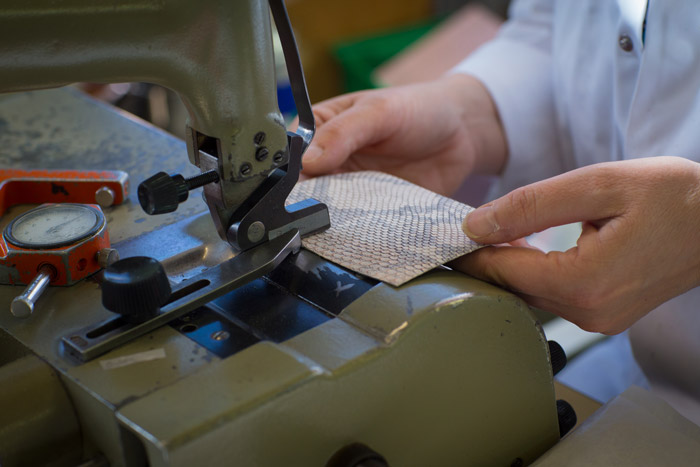
Adornment
Refine the edge of the leather to reduce the thickness when the different pieces are overlaid.
06 / 13
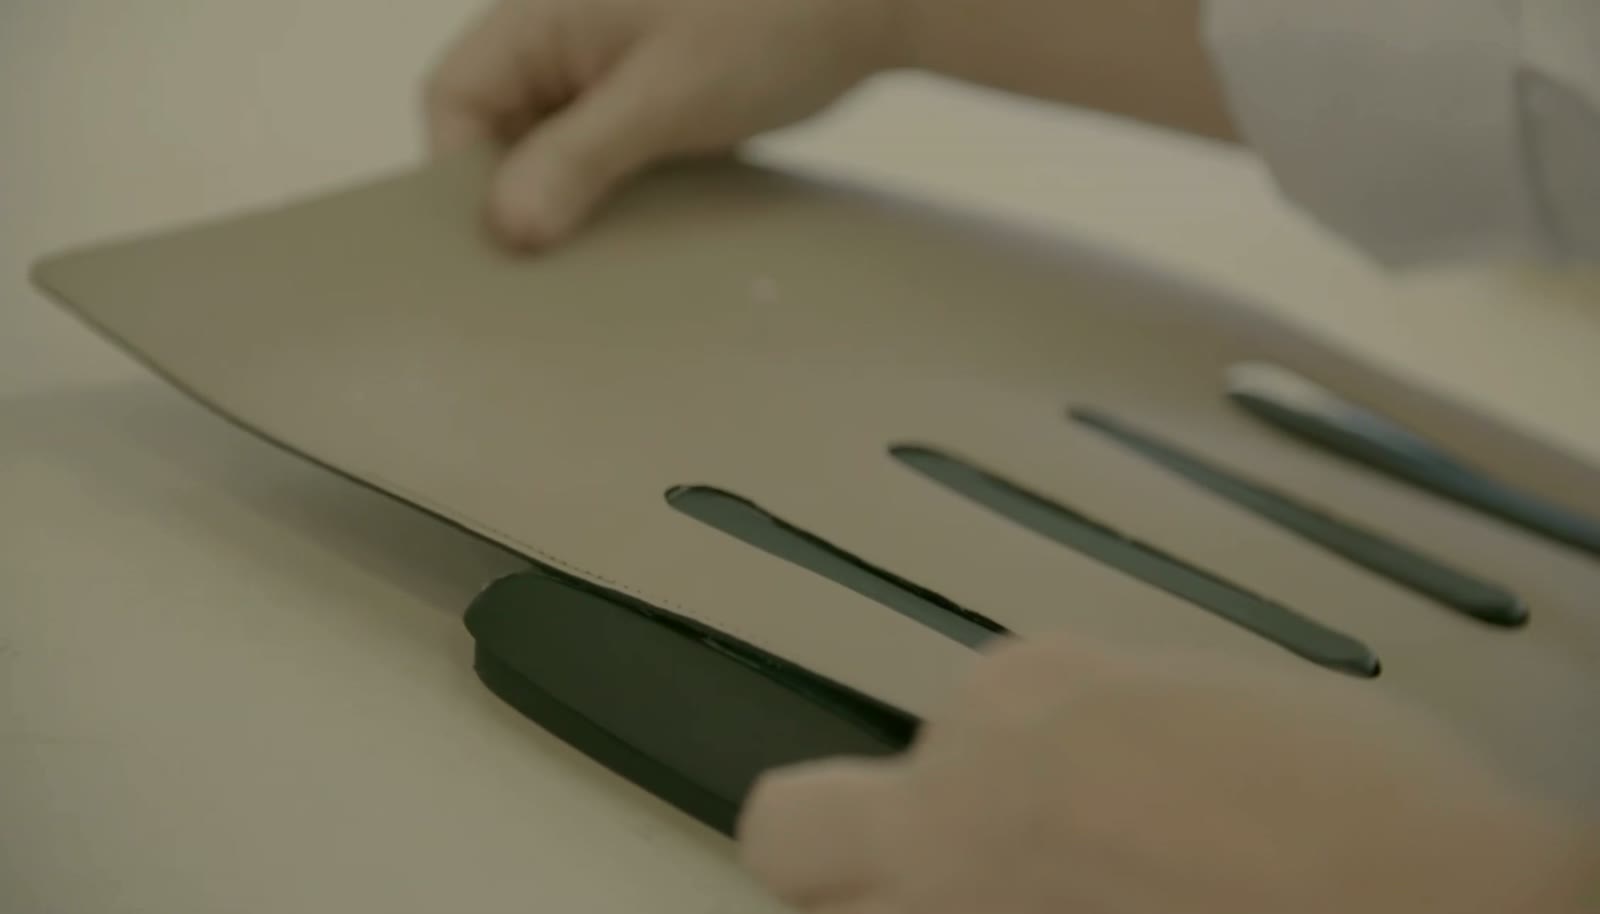
Pre-assembly
Glue together and assemble the first pieces of an article, according to a predefined production range.
07 / 13
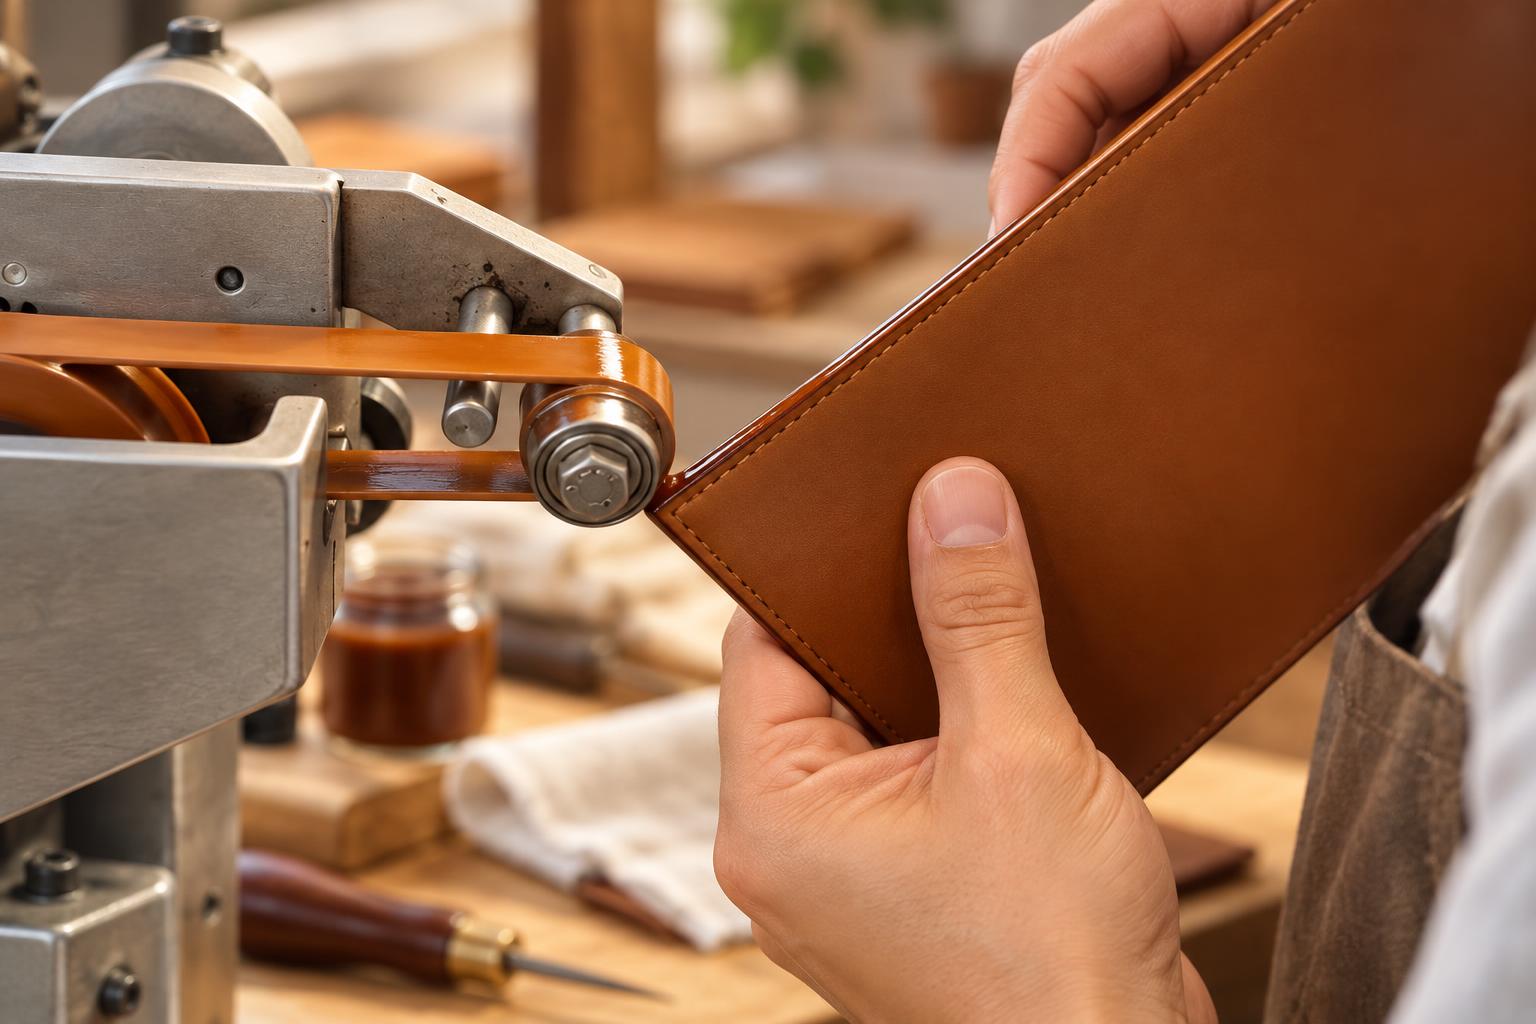
Dyeing of Pieces
Apply dye to the visible edge of the leather in order to hide the flesh side of the leather or the reinforcements.
08 / 13
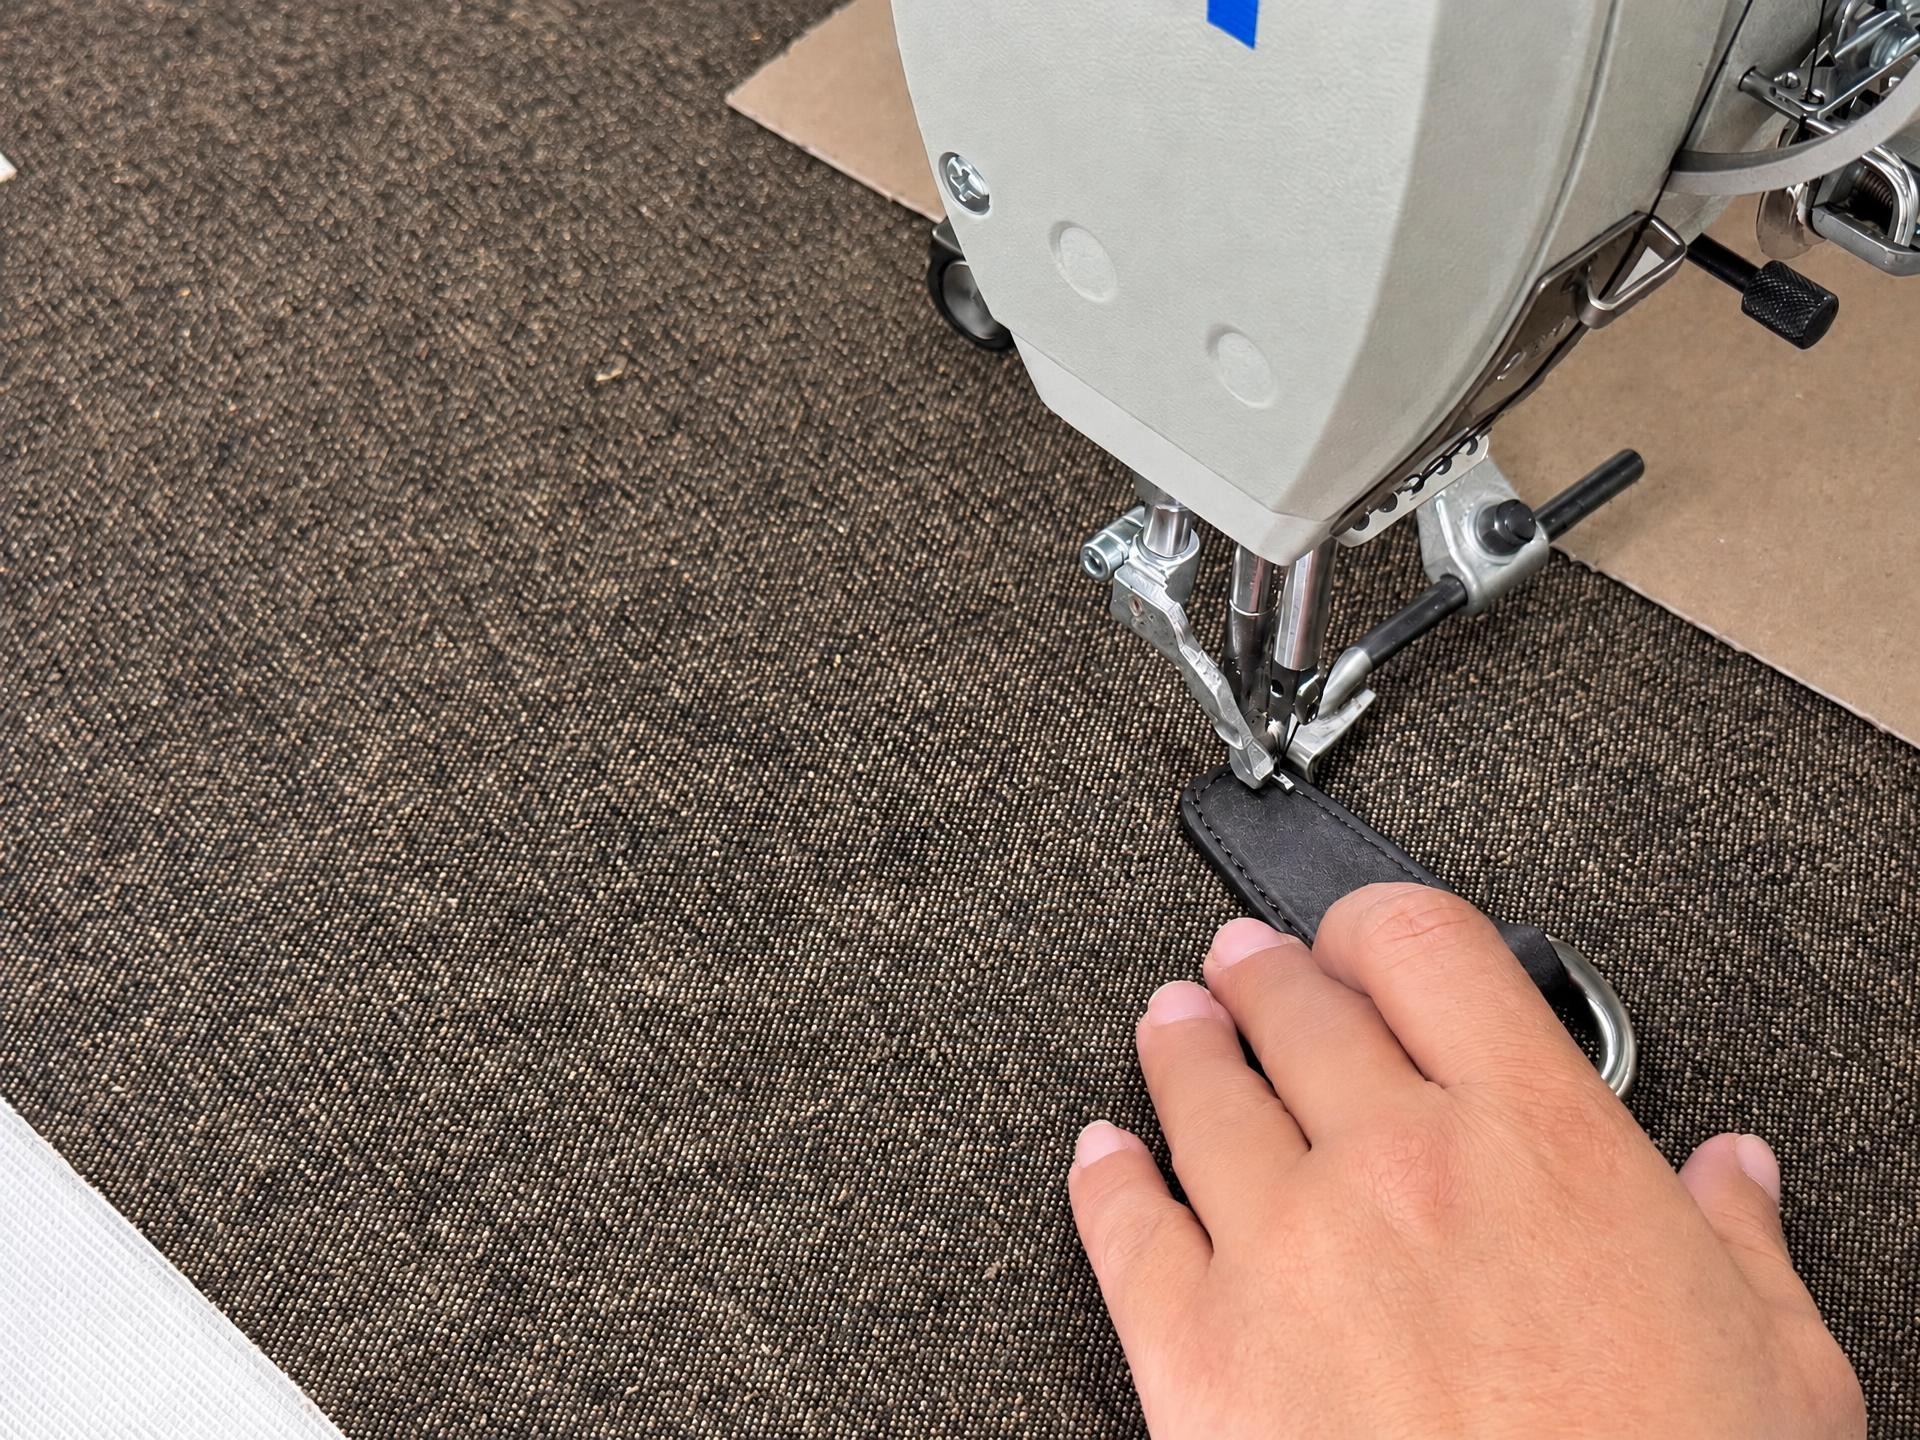
Stitching
Stitch across the pieces from one side to the other to keep them permanently assembled.
09 / 13
Assembly
Glue together and assemble the last pieces of an item in its final shape.
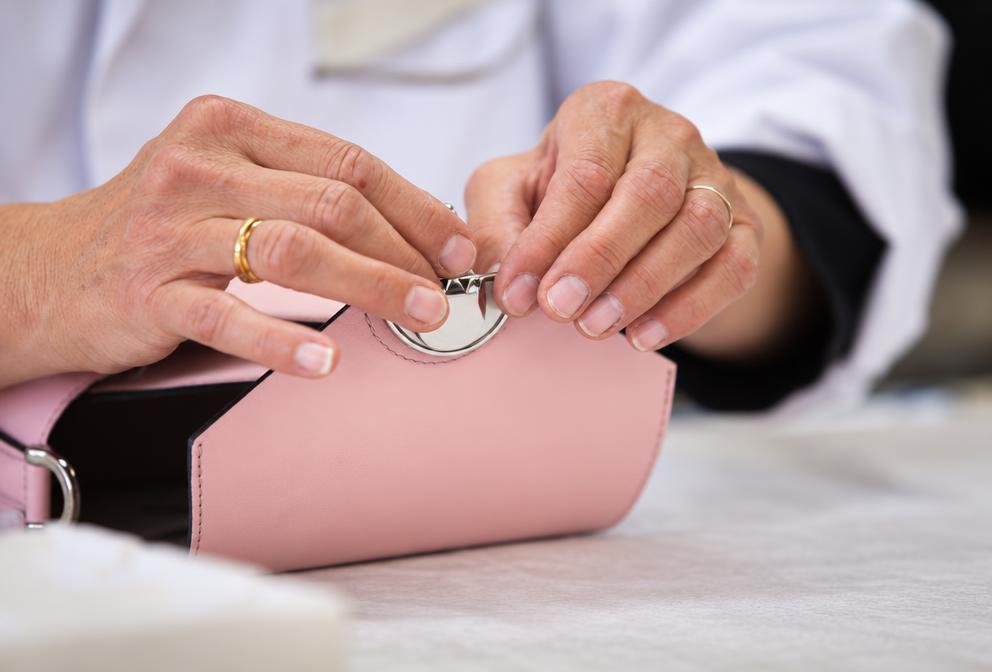
10 / 13
Final Stitching
Perform the last stitching in the final shape of the article and finish it.
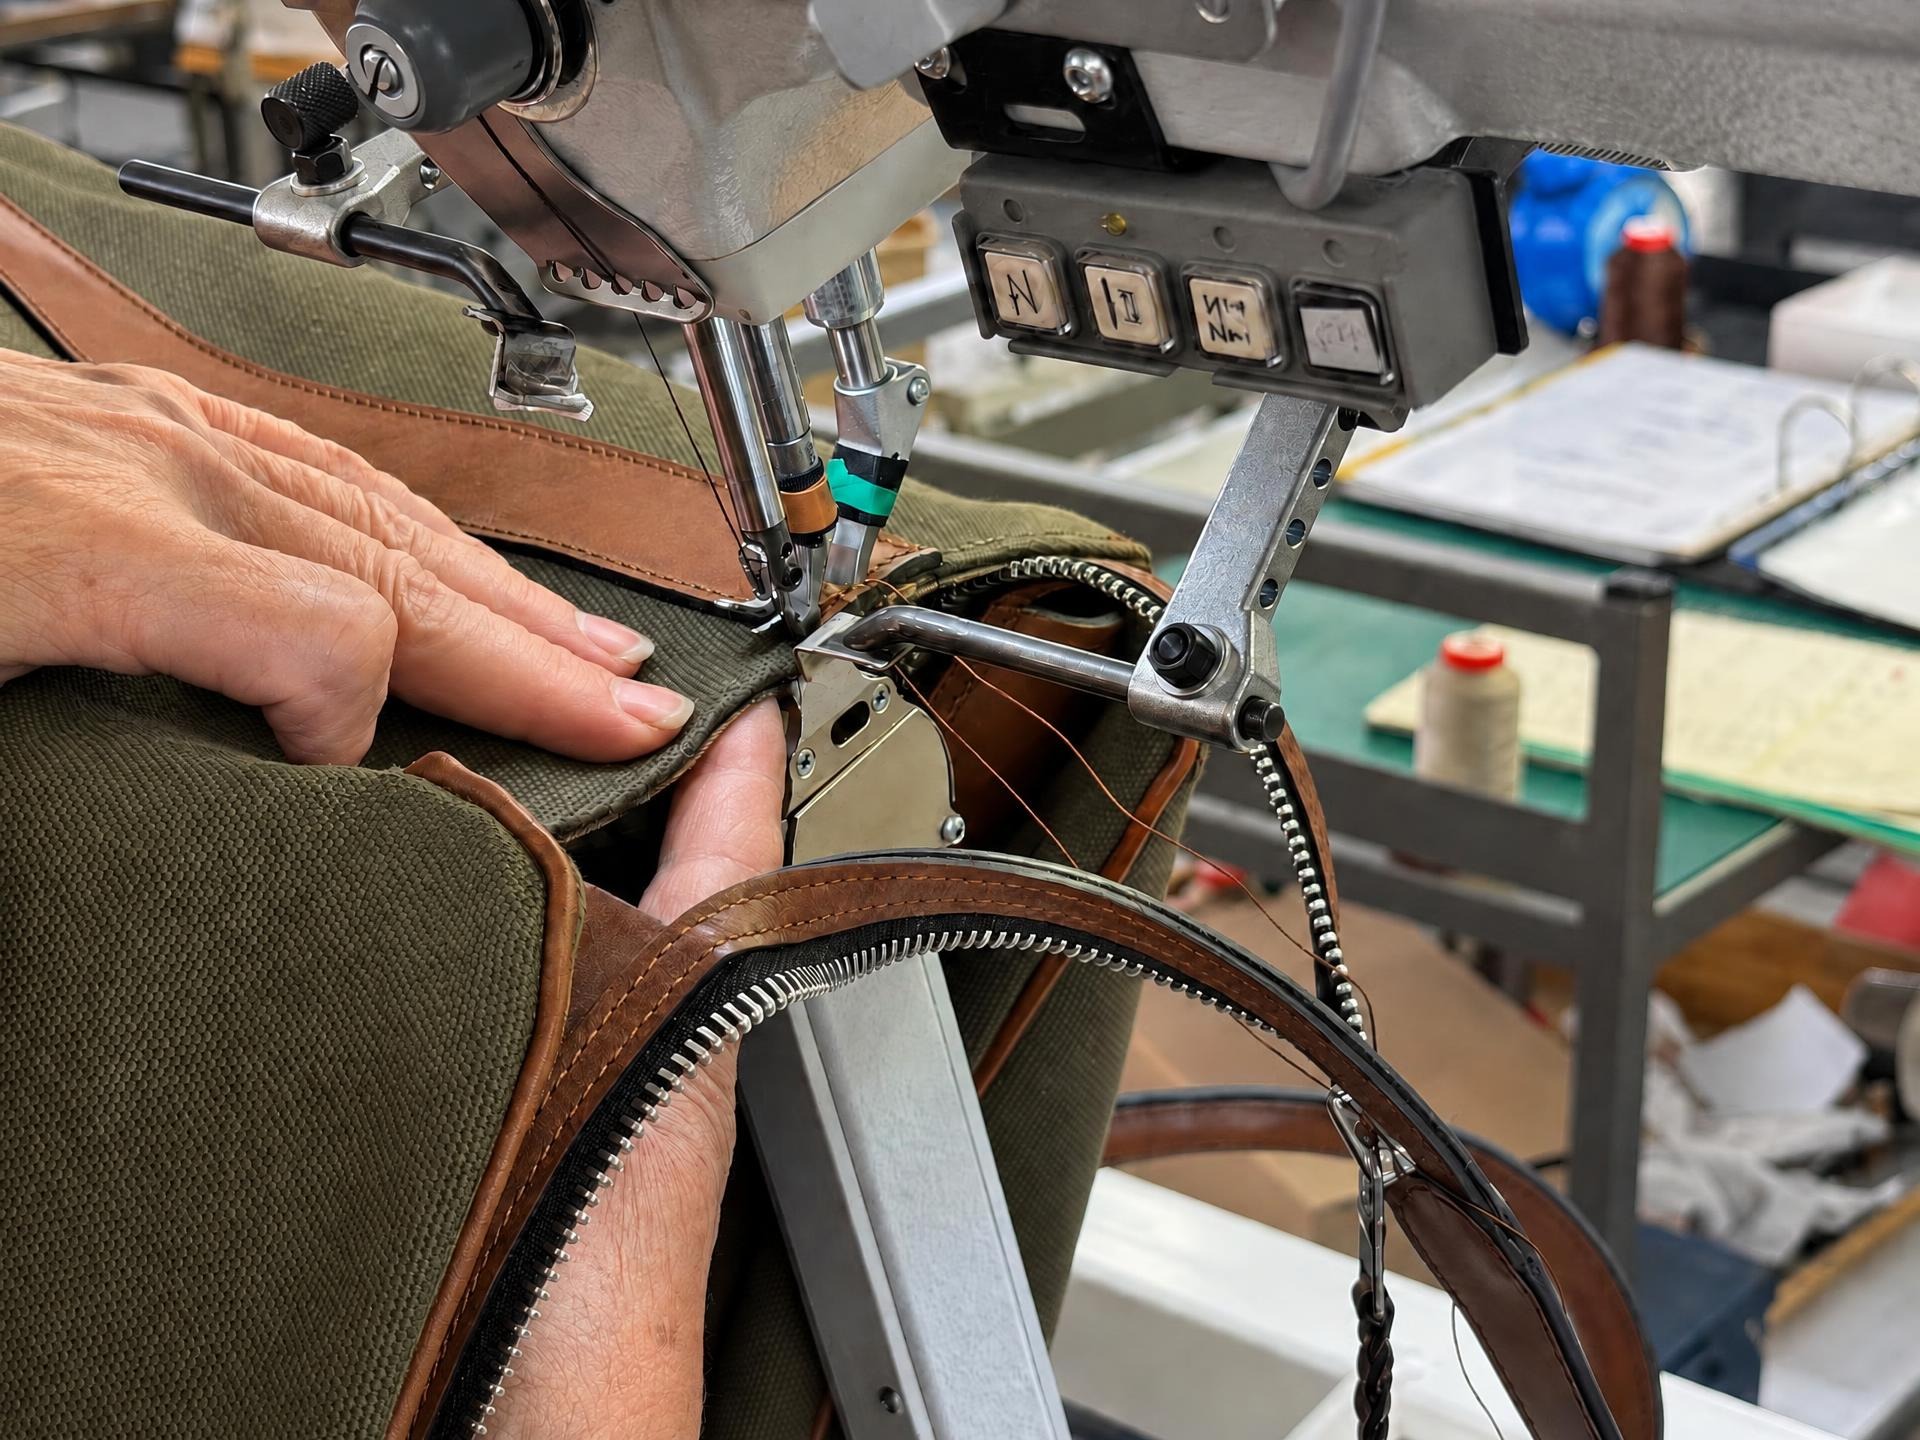
11 / 13
Final Dyeing
A final layer of color is applied to the last pieces that have been assembled in their final shape.
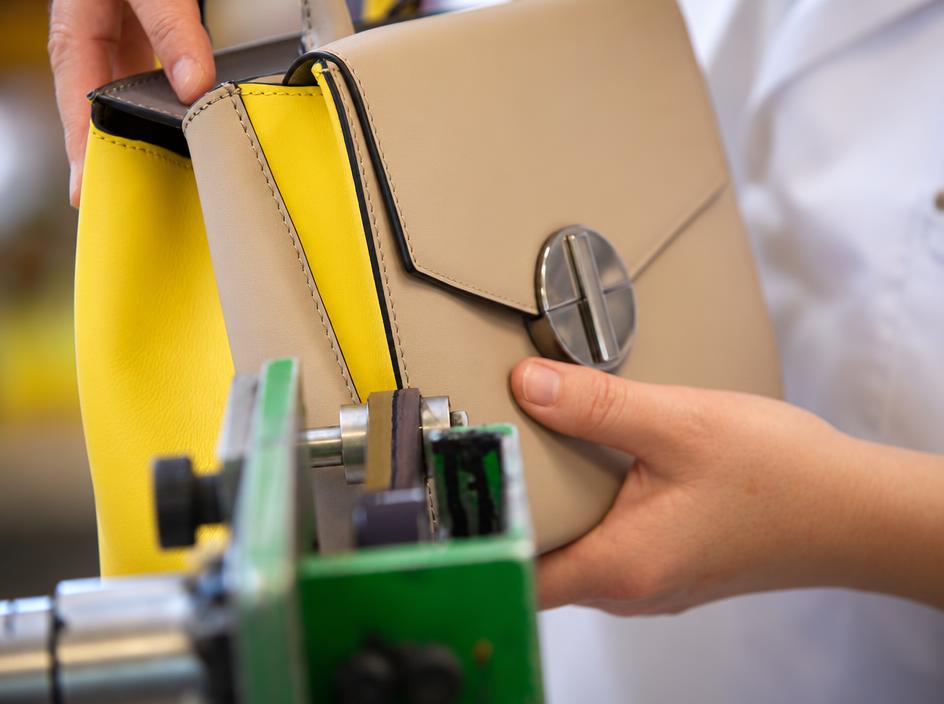
12 / 13
Finishing
Cleaning and quality check of a product that has come out of production.
13 / 13
Packaging
Last visual check-up and putting the item in a protective cover before packing and shipping.
Tell us about your leather goods project. Let’s explore how we can bring it to life together.
Discuss your project